
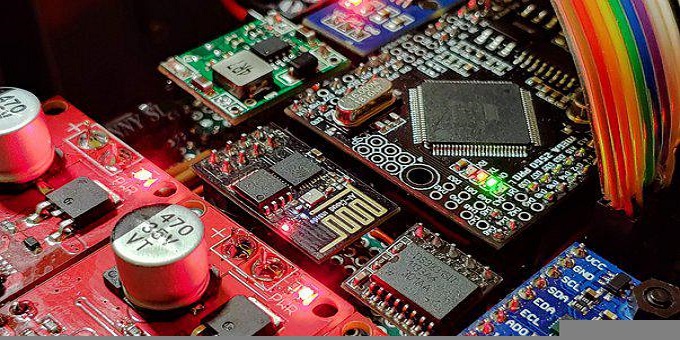
La connessione USB e FLEX board: Questa demo dimostra come impostare la connessione USB tra il PC e la scheda FLEX . L'obiettivo e' di controllare i LED di sistema del dsPIC e del PIC18 dal PC.
Il dsPIC LED e' controllato tramite comunicazione SPI con PIC18. L'applicazione e' divisa in tre parti:
1. Nella prima parte e' prevista una breve descrizione della USB e l'obiettivo è quello di fornire una visione concisa del protocollo USB.
2. La seconda parte riguarda il dsPIC con l'uso della connessione SPI con PIC18.
3. La terza parte riguarda l'applicazione del PC. E' possibile scaricare una semplice applicazione in Windows (XP o Vista) per comunicare con FLEX per accendere o spegnere i LED del dsPIC e PIC18.

La connessione USB e FLEX board - codice
#include
#include "system\typedefs.h" // Required
#include "system\usb\usb.h" // Required
#include "io_cfg.h" // Required
#include "system\usb\usb_compile_time_validation.h" // Optional
#include "user\pickit.h"
#include "user\pk_isr.h"
/** V A R I A B L E S ********************************************************/
#pragma udata
char inbuffer[64];
/** P R I V A T E P R O T O T Y P E S ***************************************/
static void InitializeSystem(void);
void USBTasks(void);
/** V E C T O R R E M A P P I N G *******************************************/
extern void _startup (void); // See c018i.c in your C18 compiler dir
#pragma code _RESET_INTERRUPT_VECTOR = 0x002000
void _reset (void)
{
_asm goto _startup _endasm
}
#pragma code _HIGH_INTERRUPT_VECTOR = 0x002008
void _high_ISR (void)
{
_asm
goto InterruptHandler // jump to interrupt routine
_endasm
}
#pragma code InterruptVectorLow = 0x002018
void InterruptVectorLow (void)
{
_asm
goto InterruptHandler // jump to interrupt routine
_endasm
}
/** D E C L A R A T I O N S **************************************************/
#pragma code
/******************************************************************************
* Function: void main(void)
*
* PreCondition: None
*
* Input: None
*
* Output: None
*
* Side Effects: None
*
* Overview: Main program entry point.
*
* Note: None
*****************************************************************************/
unsigned char ReadSPI( void )
{
SSPBUF = 75; // initiate bus cycle
while ( !SSPSTATbits.BF ); // wait until cycle complete
return ( SSPBUF ); // return with byte read
}
void Process_SPI(void){
if(PORTBbits.RB4 && INTCONbits.RBIF) {
INTCONbits.RBIF=0;
//if(ReadSPI()==0xaa) PORTBbits.RB5=!PORTBbits.RB5;
ReadSPI();
}
}
void ProcessIO(void)
{
unsigned char usb_idx = 0; // index of USB buffer
if (HIDRxReport(inbuffer, 64) > 0) // USB receive buffer has data
{
//PORTBbits.RB5=!PORTBbits.RB5;
// do
// {
switch(inbuffer[usb_idx]) // parse buffer for commands
{
case 1:
//WriteSPI(75); //switch on led
PORTBbits.RB5=1;
break;
case 0:
//WriteSPI(80); //switch off led
PORTBbits.RB5=0;
break;
case 2:
WriteSPI(80); //switch off led
break;
case 3:
WriteSPI(75); //switch on led
break;
default: // End of Buffer or unrecognized command
usb_idx = 64; // Stop processing.
} // end switch
// } while (usb_idx < 64); // end DO
} // end if (HIDRxReport(inbuffer, 64) > 0)
} // end void ProcessIO(void)
void main(void)
{
int i;
InitializeSystem();
for (i=0; i
Per maggiori informazioni clicca qui.
Repost: 1 Lug 2008


Ho avuto modo di conoscere di persona due dei ragazzi che hanno dato vita al progetto FLEX (progettista hardware e progettista software SciLab) e a mio parere è un’ottima soluzione, soprattutto per chi fa prototipazione, per poter implementare codice di alto livello (come quello dello SciLab) su microcontrollori Microchip (http://www.evidence.eu.com/content/view/175/216/).
E’ un ottimo punto di partenza per poter realizzare prodotti che gestiscono elaborazioni di segnali come quelli audio o video.
Ci sono anche interessanti video su youtube come il controllo del pendolo “inverso” o il controllo di una sfera su uno schermo touch screen.